How to linearize my inkjet printer or press
LINEARIZATION PROCLAMATION!
by Bill Owen – Lead Color Specialist at Alder Color Solutions
Why is linearization of printing equipment so important? It establishes a baseline and neutral print condition which provides optimal and repeatable color. Linearization determines what the output levels of the tints of each color need to be in order to produce linear ink coverage at levels through the tonal range (0-100%) . Linearization is also sometimes referred to as the “calibration” of the device.
To linearize an inkjet printer, you first need to print a linearization chart. This would be the 2nd step in the calibration process AFTER first completing individual ink channel limits (see INK LIMITING document).
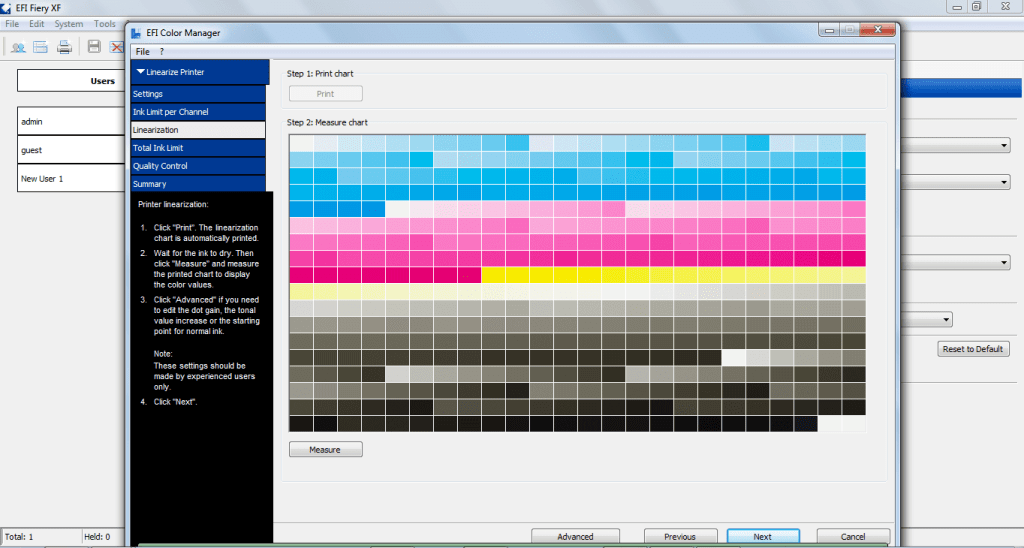
The chart below is a linearzation chart from the EFI Fiery XF color management RIP. After printing the chart, the next step would be to measure the chart. The software would then apply the appropriate tonal corrections to “linearize” and/or calibrate the printer. This is typically a quick and easy step in the calibration process but also a very important step!
To linearize a printing press, you’ll need to generate a correction curve that will be applied to the plate. There are calibration controls built into every plate setter rip. You will need to print a chart on press like a P2P51 (see below)

that you can measure into your rip or into a 3rd party software like Curve4 from Chromix. This is what I like to use rather than the internal rip controls. This software will generate a G7 Correction Curve and establish a linear condition providing a neutral gray balance and optimal color. (See below for curve info)

For more detailed information on calibrating printing equipment,
contact Alder Color Solutions today at 877-753-9067 ! We provide both onsite and remote training.


